Most thermal problems we see in customer drawings are not fan problems — they are geometry problems. Every week our engineers review ventilation layouts for sheet metal enclosures, and the same trade-off reappears: how much open area can you buy before the part becomes expensive, floppy, or both.
Key takeaways
- Real airflow comes from the intersection of the system impedance curve and the fan curve, not from the fan's free-air rating.
- More open area lowers pressure loss, but above roughly 60% the sheet tends to warp during punching and bending, forcing thicker material or dedicated tooling.
- Staggered round or square holes are the best default: fast to punch, low tooling cost, best remaining stiffness.
- Keep at least 2–3× sheet thickness between any hole edge and the bend line, or holes distort during forming and trigger rework.
- Outdoor cabinets combine louvers, honeycomb, and filter mesh to balance ingress protection with pressure drop.
- Sanjun offers a free DFM review and free CAD support, MOQ 1 piece, first articles in about 7–10 days.
Start with the fan operating point, not the fan datasheet
A fan never delivers its catalogue airflow once it sits behind a perforated panel. Air moving through an enclosure must overcome the vent pattern, filter media, internal boards and heatsinks, and any restriction at the outlet. That resistance is the system impedance curve, where pressure drop rises roughly with the square of flow; the fan adds its own curve, where available pressure falls as flow increases. Real CFM lives where the two curves cross.
When open area is insufficient, the vent sheet itself becomes the dominant restriction. The operating point slides up and left along the fan curve: pressure demand climbs, airflow falls faster than intuition suggests, and the fan settles in a less efficient region. What we measure on real builds:
- Delivered CFM well below the datasheet value, sometimes 30–50% lower.
- Higher acoustic noise, because the fan must spin faster or runs near stall.
- Higher power draw and extra heat — the fan loads the enclosure it was meant to cool.
- Local hot spots downstream of a choked inlet, even when total airflow looked fine on paper.
Our review therefore starts from the airflow required at component level and works backwards to the open area needed. Overspeeding the fan is usually the expensive fix; adding open area in the right place usually is not. See our sheet metal enclosure thermal management guide for the wider heat-path picture.
Open area ratio: where the cost curve turns
Open area ratio is the share of a panel surface that is actually holes. Higher ratios reduce pressure loss predictably, which is why the first instinct is always to add more holes. On the shop floor we hit practical limits long before airflow stops improving.
- Up to roughly 30–40%, standard perforating tools run cleanly and the panel keeps most of its stiffness. This band is comfortable and cheap.
- Between about 40% and 60%, parts generally stay stable, although nesting, grain direction, and hole pitch start to matter.
- Above about 60%, the webs between holes get thin; the sheet buckles during punching and can twist along a bend. Thicker material or a dedicated tool set is then needed, and tooling amortisation quickly outweighs the airflow gain.
The real question is not how much open area is achievable, but what is the minimum pattern that meets the airflow target with margin. Removing restrictions elsewhere — a choked filter, a badly routed cable bundle, an unvented rear panel — often buys more CFM than pushing past 60%.
Three vent forms we compare on every project
| Vent form | Open area | Airflow behaviour | Stiffness | Tooling and cost | Typical fit |
|---|---|---|---|---|---|
| Staggered round or square holes | Around 30–60% | Predictable, low loss once open area is adequate | Best of the three; continuous webs carry load | Standard tools, high punching efficiency, lowest unit cost | Default for most enclosures |
| Honeycomb (hexagonal) | Can exceed 60% | Directional, low loss, straightens flow | Good, provided web width is respected | Often needs cluster tooling or laser; higher cost | High-CFM panels, EMI-sensitive vents |
| Louvers | Looks generous, effective free area lower | Highest loss of the three; redirects flow | Good, formed features stiffen the panel | Standard forming tools plus one extra operation | Splash protection, outdoor IP-rated cabinets |
Two notes from our side of the table. Staggered round and square holes are the most forgiving pattern we run: fast to punch, tolerant in handling, with enough metal between holes to carry bending loads. Honeycomb and louvers trade the other way — honeycomb buys maximum free area and flow straightening at a real unit cost, while louvers suit intakes that must shed water and hurt when CFM is tight, so budget the extra static pressure. Our custom perforated vent pattern cooling guide covers the geometry behind these choices.
Tooling and process choices that cut cost without losing CFM
Most savings we find come from process discipline rather than from changing the fan.
- Unify hole pitch and diameter across the panel, so several rows come out of one cluster-punch stroke instead of dozens of single hits. Keep the hole library small: each extra diameter is another tool station and setup.
- Keep at least 2–3× sheet thickness between hole edge and bend line; closer than that, holes distort during forming and cause rework or scrap. Apply the same thinking to inserts, PEM hardware, and panel edges.
- Punching, especially gang punching, normally wins on unit cost at volume; laser cutting offers freedom for custom shapes and hexagonal arrays and often suits prototypes better. We quote both.
- Account for filter mesh separately: its pressure drop adds to the system curve and worsens as dust loads over the service life.
Two applications we build most often
2U high-density server enclosures
The binding constraint here is slot height, not imagination. Front and rear panels carry dense hole arrays, internal fans are small and fast, and every pascal of static pressure is expensive. We push the front panel to the highest open area the stiffness and tooling budget allow — near, but not above, the practical ceiling — and keep the rear panel at least as open, because a restrictive outlet quietly throttles the whole system. We also stop ducts and brackets from shadowing perforated areas and align the pattern with the actual fan sweep. The airflow, EMI, and strength trade-offs behind this advice are set out in our OEM server chassis guide.
Outdoor energy storage and telecom cabinets
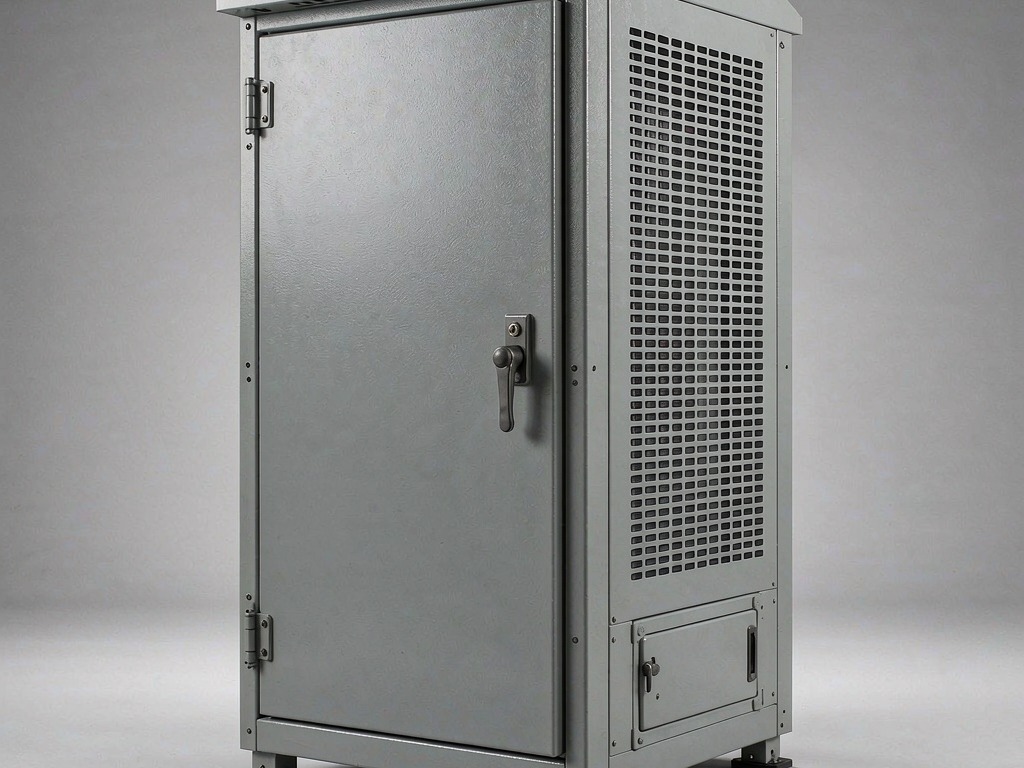
Outdoor cabinets reverse the priority: ingress protection comes first and airflow is negotiated around it. A workable stack combines louvers or a drawn hood at intake and exhaust, a honeycomb or fine perforated inner panel carrying most of the open area, and a removable filter mesh with its own allowable pressure drop and cleaning interval. Drainage and gasket details are reviewed together with the vent array, since one badly placed drain path can undo an otherwise good pattern.
Get the vent pattern reviewed before you freeze the layout
A vent layout is among the cheapest things to change early and the most expensive to change after tooling. Send us the STEP or DWG file with your airflow target: we run a free DFM review, mark up open area and forming clearances, and return revised CAD at no charge. We hold ±0.1 mm on critical features, accept MOQ 1 piece, and ship first articles in about 7–10 days.